
| Version 2 (modified by , 4 years ago) ( diff ) |
|---|
Table of Contents
Parallax Normal Maps
Introduction
The Pyrogenesis engine supports a type of map called a 'parallax map' in addition to normal maps. Those maps are a special kind of normal maps with an alpha channel. The alpha channel defines the intensity of the parallax effect.
Examples
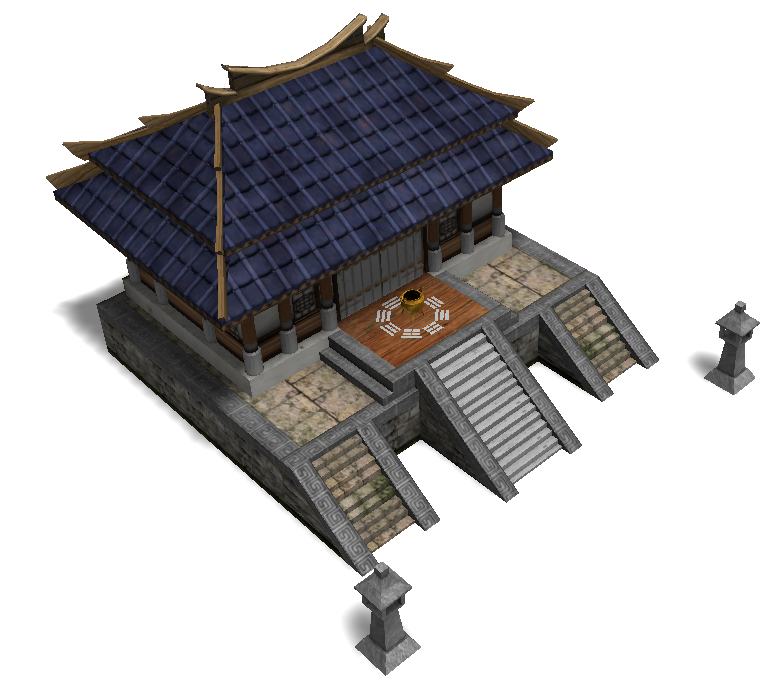
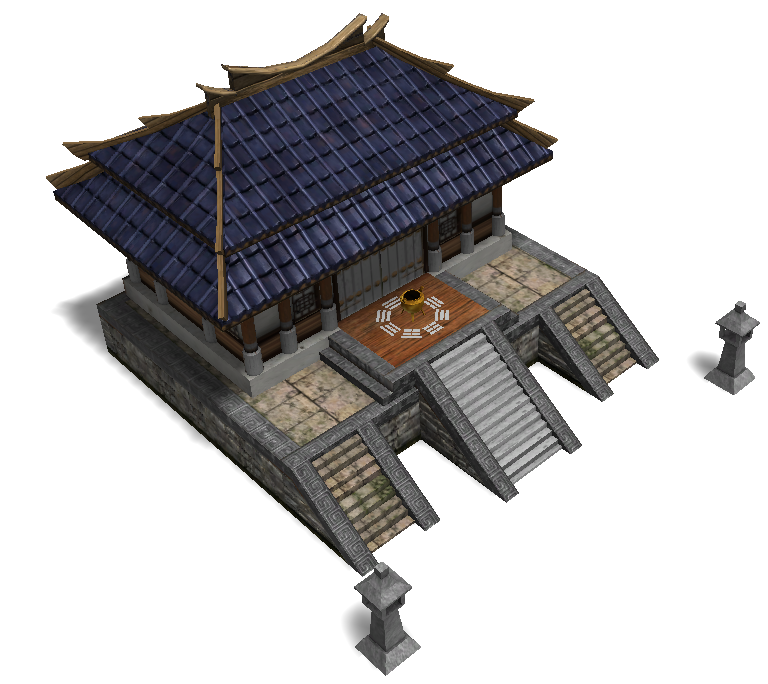
Important: The parallax map only work if there is actual normal information:
| Combinations | Result |
|---|---|
| Alpha + Normal | 
|
| Normal | 
|
| Alpha Only | 
|
Plain Normal #8080ff | 
|
Full transparency (Alpha at #000000 (Black)) means maximum depth.
No transparency (Alpha at #FFFFFF (White)) means no parallax.
To disable parallax completely you need to use a material without:
<define name="USE_PARALLAX" value="1"/>
Tips
- Baking the ambient occlusion (AO) of a more detailed mesh works nicely as an alpha channel mask.
- Just like for the normal avoid noisy alpha channels, and prefer clean simple ones instead.
- In GIMP, you can create your mask as normal channel on top of your existing texture, then paste it as a mask for another layer.
- If your texture uses parallax for everypixel, it's better to set the default alpha color to a medium gray (e.g.
#777777) this way you have more control over depth. Anything below that value will be a crease, and anything above that value will be a bump. - If you notice some weird glitches try the edge split modifier in Blender.
Caveats
- Don't mirror UV coordinates when using parallax as it may generate a color discrepancy.
- Don't use parallax if you don't need to. Sometime a simple normal is all you need.
Attachments (4)
- normal.png (450.5 KB ) - added by 4 years ago.
- alpha-only.png (430.1 KB ) - added by 4 years ago.
- nothing.png (424.4 KB ) - added by 4 years ago.
- parallax.png (457.0 KB ) - added by 4 years ago.
Download all attachments as: .zip
Note:
See TracWiki
for help on using the wiki.